Today I want to talk about making gluten-free bread because I think many people are still scared of making their own bread.
I want to let you into a secret.
Making gluten-free bread is a whole lot easier than making bread that contains gluten.
There, I said it and now I have to persuade you that it’s true!
I’m going to share with you what I’ve discovered in the years that I’ve been making bread. I wish someone had told me these things when I was starting out on the gluten-free baking journey. It would have made life so much easier!
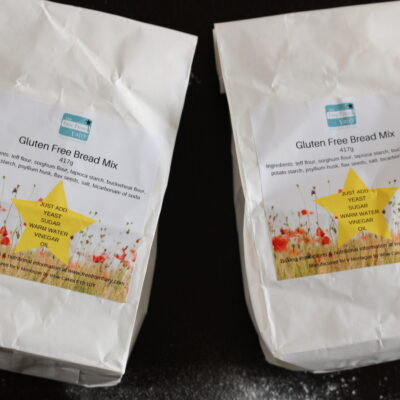
However, if you’re not quite ready to make the leap into gluten free bread making you might find it easier to use my gluten free bread mix.
It has taken years to perfect and is the best gluten free bread I’ve ever had. The mix makes it really easy to make and you’ll never look back.
Find out more and buy it right here…
How to make gluten free bread:
1. Pretend you’re making cake.
Yes! When you are making gluten-free bread (particularly a loaf of bread like my wholegrain one) you want the mixture to be the consistency of cake.
It is also just like making cake in that you put all the ingredients in a bowl, mix them up and it’s job done (leave to rise and bake). No kneading required because there is no gluten to work. Easy!
2. Gluten free bread doesn’t rise as much as bread with gluten
Don’t expect your bread to double in size in the rising stage…it most likely won’t.
3. Good gluten-free flour is imperative to make a good gluten-free loaf.
If you use most commercially available flour blends any slight knock to the risen bread on the way into the oven will be enough to destroy the loaf. You don’t need to worry about this with my gluten-free wholegrain flour blend because the structure is much stronger and I have tested it against many bread recipes.
Equally, don’t try to make gluten-free bread with only one type of gluten-free flour…you’ll need a blend of flours to mimic the gluten.
To have some flavour in your bread you need wholegrain flours like those that I use in my flour blend…teff, sorghum and buckwheat, otherwise your bread won’t taste of anything.
4. Xanthan gum or psyllium powder act like gluten to bind the ingredients together
If you forget to put one of these into your bread mixture you are likely to find your bread is much more crumbly.
I reckon around 5g of psyllium or 7.5g of xanthan should be added to every 250g of gluten-free flour blend. However, many commercial flour blends already have xanthan gum added to them in which can you shouldn’t add more (but I can’t tell you what would work!).
I deliberately didn’t add thickeners and gums to my gluten-free flour blend because some people prefer to choose what they add themselves and/or have allergies or intolerances to them.
5. Don’t over complicate things
I’ve seen so many recipes that call for a list of ingredients as long as your arm.
What I have learnt is that they aren’t necessary most of the time. Granted, your home made bread isn’t likely to be as light and fluffy as the stuff you buy, but rest assured it will contain a list of ingredients that you have heard of and whose impact on the body is known.
6. Leave your bread to cool completely before cutting it.
Once out of the oven it will continue to cook. If you cut it while hot it will be more ‘stodgy’ rather than ‘springy’.
7. Don’t experiment in your early bread making adventures
Stick to a recipe exactly until you feel confident with experimenting. Changing the flour will make a difference to the end result for example.
8. The longer you leave your bread mixture to ‘prove’ (rise) the more flavour your finished bread will have.
After the initial rise, leaving your dough in the fridge will create a stronger bread-like, almost sour-dough flavour. Before baking, bring the dough up to room temperature for at least an hour, then bake. The longer you leave the dough the stronger the flavour.
9. Let your bread rise in a warm humid environment
I use my cold oven for this…adding a tray of boiling water to the bottom shelf and placing my dough on the shelf above. After between 30 minutes to 1 hour your dough should have risen to nearly double its original size.
If you don’t want to use your oven you could use a large sealed container, or microwave and add a cup of boiling water along with your dough. I haven’t tried this but it should work.
10. Use bottled or filtered water for best results
I have got far more consistent results since I started using filtered water.
11. Bake bread in a very hot oven with a tray of water in the bottom for a crispy crust.
Place a baking tray in the oven to warm with the oven, then add a cup of water at the same time as you add the bread (be careful)
This creates a nice humid environment while the bread bakes creating a nice crispy crust. If you don’t want a crispy crust don’t put the water in!
12. Get a thermometer to measure your water temperature
Water that is too hot will kill the yeast, if it’s too cold the yeast won’t be activated. You need to use water that is 37 degrees C for optimum yeast growth. That’s about the temperature you would bath a baby in.
13. If you aren’t sure about the age of your yeast, mix the yeast and warm water together before adding it to the dry ingredients
You don’t want to waste expensive gluten-free flours because your yeast is too old or your water is too hot and you’ve killed the yeast. Leave the yeast and water mixture for around 10 minutes to test it. Alternatively follow point 12!
If the yeast is active it will bubble a little in the water and will smell nice and yeasty.
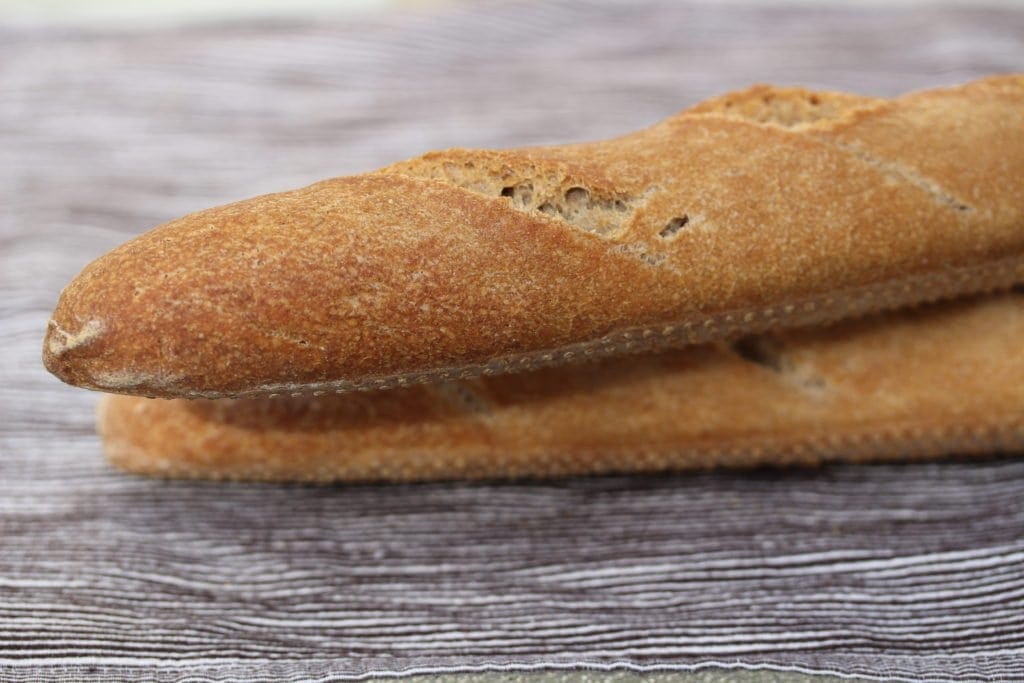
14. Baking free-shaped bread on a pre-heated pizza stone or pre-heated baking tray will create a crustier loaf
This is for those recipes like rolls where you want a French-style bread
15. If you’re shaping a loaf like a boule, use some reusable baking mat
Once risen, quickly transfer the loaf into the oven/straight onto your pre-heated pizza stone or baking tray. Alternatively bake directly on a shelf.
16. You may need to reshape your loaf gently after the rising stage.
Use wet hands and be gentle so that you don’t loose any of the trapped air bubbles.
I do this with bread like my baguettes to get a ‘perfect’ shaped end result. Equally using wet hands and a gentle touch on a loaf of bread will also create a nice smooth crust.
What is looks like when it goes in the oven is roughly what it will look like when it comes out. Take the time to make it look pretty before baking!
17. Never ‘knock back’ a gluten-free dough after the first rise.
Gluten-free bread only needs one rise. If you knock it back as per ‘normal’ bread making your bread is likely to be very dense.
18. Some days everything will fail
Remember that the gods of gluten-free baking are not always shining on you. The temperature of your house, the humidity and weather can affect gluten-free baking. If your bread doesn’t turn out well on one day, don’t give up. Try the same or different recipe on a different day.
If it makes you feel better, I have lots of ‘off’ days too!
19. Learn from the masters
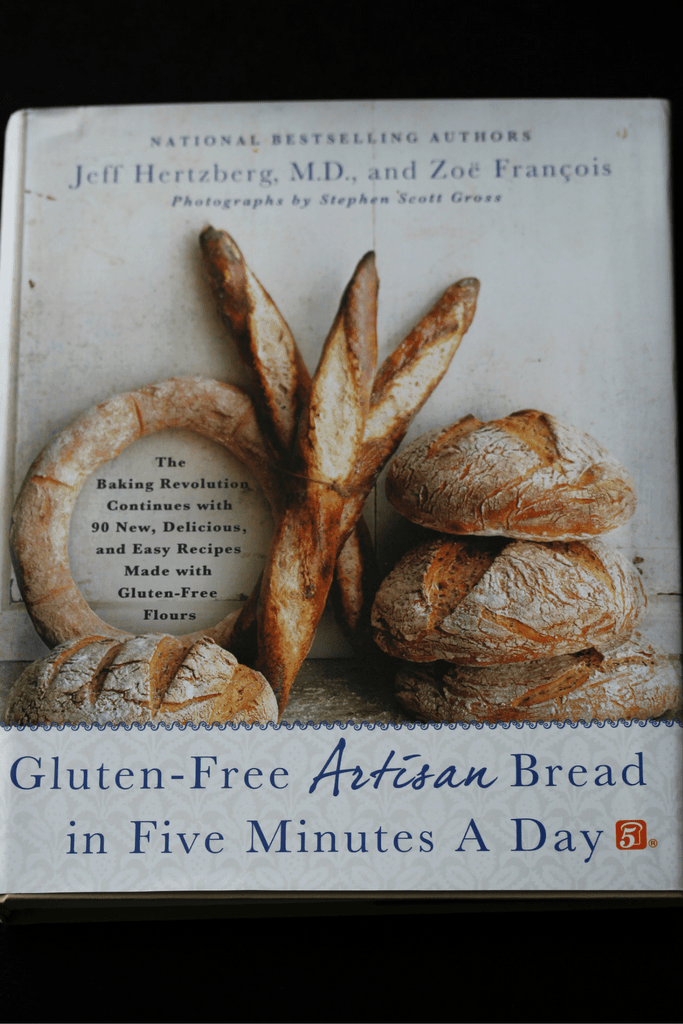
Of which I am not one! Buy the book Gluten-Free Artisan Bread in Five Minutes A Day and learn all about gluten-free bread making from trained bakers.
I’ve tested out their basic bread recipe using my wholegrain gluten-free plain flour blend and it was magnificent.
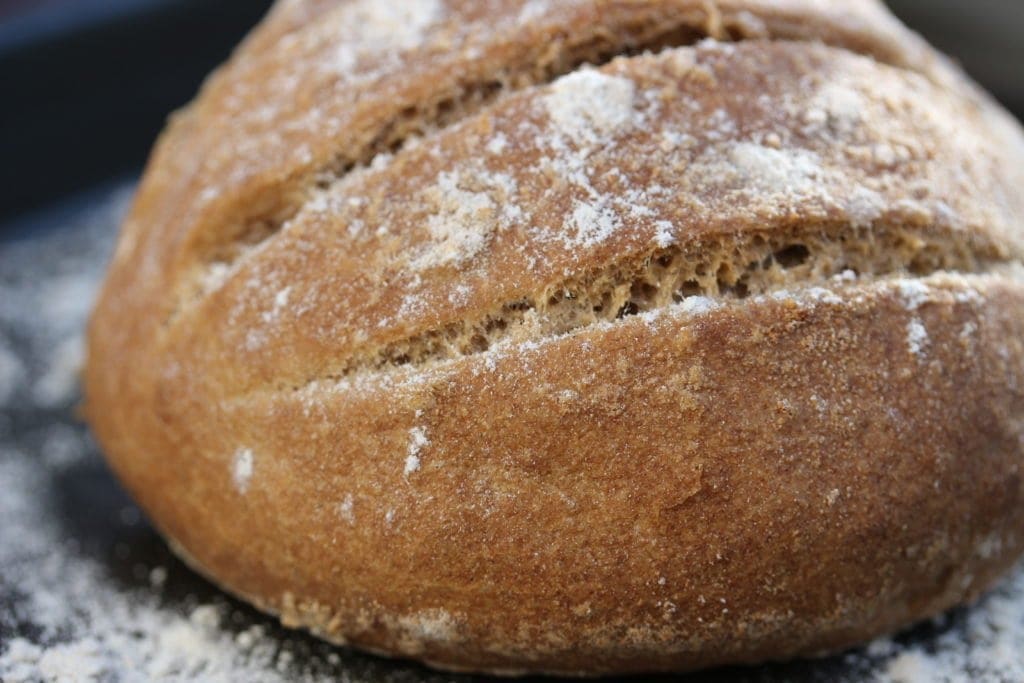
I made one boule loaf with their flour blend and one with mine…the results looked exactly the same, but the taste of mine was far better (as voted by the family on a blind taste test).
This is what the loaf looked like using my flour blend…
Alternatively enter my giveaway below to be in for a chance of winning a copy.
My lovely sister bought it for me at the same time as I bought it for myself…so I have a spare brand new copy to give one lucky reader.
Ruth Parham says
I am really glad I read this post as I have had quite a bit of success with gluten-free cakes, but bread has always daunted me as it seems much harder to get a good result. I will be trying it with your flour, thanks for the tips.
Vicki Montague says
You’re so very welcome. Let me know how you get on 🙂
Laura Samuel says
HAVE FUN! Baking is meant to be an enjoyable hobby, doesn’t matter if it doesn’t turn out quite right or look as pretty 🙂
Ceri Jones says
Wow, some great tips here Vicki. Looking forward to getting my hands on your flour soon and making bread as amazing as this. I want that book!
Vicki Montague says
Yes you need the book! I know you are not a big bread fan but I really think you’d love the basic recipe made with my flour. Good luck and thanks for your comment.
Steph says
I’m new to baking so no tips yet
Vicki Montague says
That’s ok! Thanks for popping by.
Helen says
Couldn’t agree more with this list! I tried the main recipe from this book many year ago after having great success with their gluten bread in 5 and I wasn’t keen on the flour mix at all. I’m glad to know you’ve had good results using your blend. I feel some experiments coming on…I really enjoy keeping the dough in the fridge waiting for anything I want to knock up.
Vicki Montague says
Hi Helen, yes the idea of having the dough in the fridge is brilliant isn’t it! We really didn’t like the flavour of the bread with their blend but loved it made with my flour. I hope you do too! Do let me know…
Pamela Benn says
This looks like an amazing book & I sure could use it as I am not having any luck with Gf bread at the moment.
Vicki Montague says
Hi Pamela, sorry to hear you’re not having much luck with bread. Do give my recipes a go…I think you’ll be pleased with the results!
Nadia says
We as a family love the baguettes made with your flour blend, they have become a weekend staple for family lunches xx
Vicki Montague says
Oh I’m so pleased Nadia! I think you’ll love the new bread recipes once I find the time to get them into an ebook!!