I created this gluten free gingerbread men recipe so that my daughter didn’t miss out when her brother was having gingerbread men. It’s very easy to make and tastes wonderful.
If you want to make a gluten free gingerbread house for Christmas then you can use the same recipe. Just use house cutters rather than men cutters. If you don’t have any cutters at all just shape them into circles and enjoy a gluten free ginger cookie instead.
If you want a gluten free, dairy free and egg free gingerbread then check out my healthier vegan gingerbread recipe.
This post contains Affiliate links. As an Amazon Associate I earn from qualifying purchases.
The story behind these gluten free gingerbread men.
My son loves gingerbread men. And I have always felt rather sad for my daughter who has not been able to have them due to having coeliac disease.
I therefore decided to search for a recipe that would mean she could enjoy them too.
I tried quite a few.
Some spread out too much and didn’t really look like figures, others didn’t taste as good as their gluten-containing counterparts.
Finally I came up with this recipe that works perfectly.
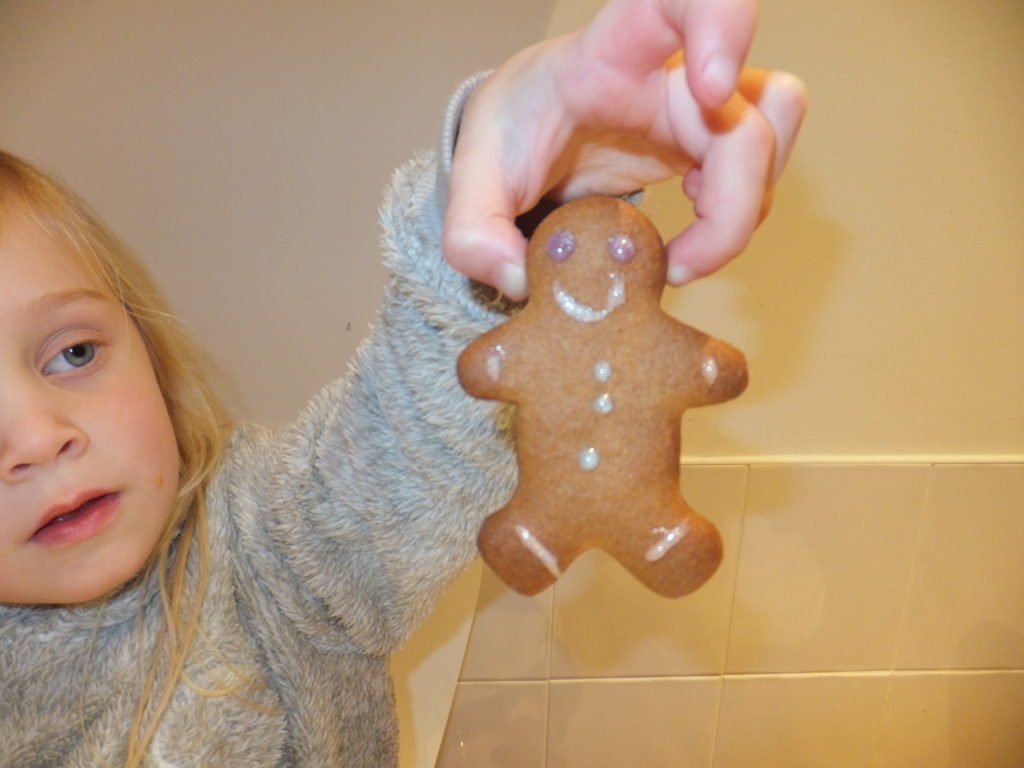
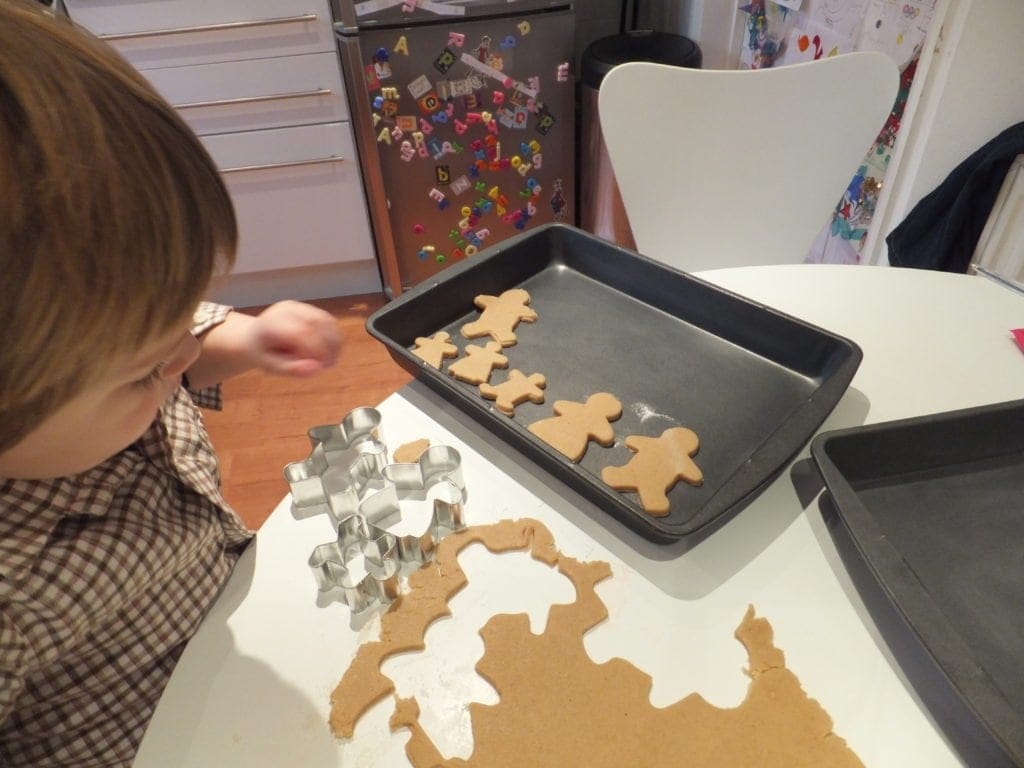
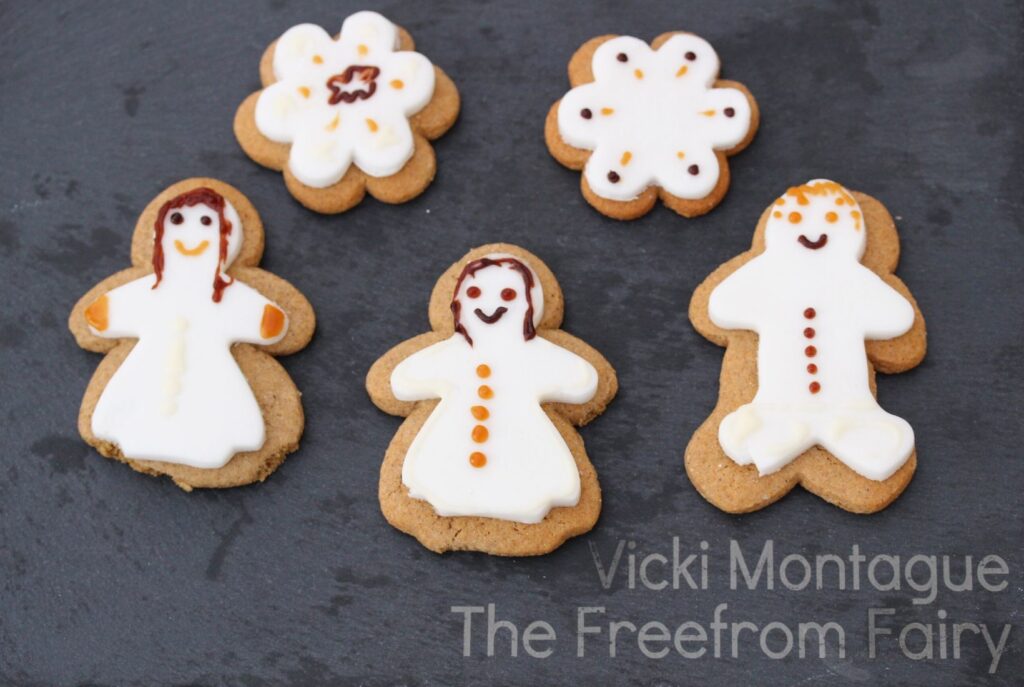
We all have a lot of fun making these, particularly the kids who do all the cutting and decorating as you can see below!
How do you make gluten free gingerbread men?
Gingerbread is a very simple biscuit to make. This recipe makes hard gingerbread but if you’re a fan of soft gingerbread then make my vegan gingerbread recipe.
My vegan gingerbread recipe is also perfect if you need to avoid dairy, eggs and FODMAP’s. Or if you would like a lower sugar alternative to this recipe.
Anyway, in terms of how to make it, I use a food processor. This isn’t entirely necessary but it does make the job easier and quicker.
Of course if you have children you can get them to do the messy job of rubbing the fat into the dry ingredients. That’s all the food processor does…but it does it without the mess and in much less time.
Once the fat has been combined with the dry ingredients the syrup and egg is added and brought together to form a dough. At this point I chill the dough to make it less sticky.
The dough can then be rolled and cut any way you like but I do suggest you use plenty of flour on the work surface and on top of the dough as you roll.
I also suggest moving the dough around after every roll so it doesn’t get stuck on the surface. You can watch a video of me doing that when making gluten free shortcrust pastry. It’s the same technique and I use it when I’m rolling anything out.
Roll the dough to approx the thickness of a one pound coin (about 4-5 mm) then use cutters to create your cookies. Alternatively you could just take chunks of dough, roll it into balls and flatten it onto a greased baking tray.
If you want to make absolutely sure these don’t spread while cooking, chill them for around 30 minutes in the fridge before baking. This isn’t totally necessary but will prevent any spreading.
Why do you use your gluten free flour blend?
I developed my own gluten free flour blend when I found out about rice containing arsenic. When my daughter was diagnosed with coeliac disease she was two years old. And her diet consisted of a lot of rice. As most people who eat a gluten free diet does.
Rice flour is used to make the majority of gluten free alternatives and was also in the gluten free flour blends that I was using for my baking.
The solution to this was to combine my science degree with my qualification in nutrition to develop a flour blend without rice flour. I also wanted it to be highly nutritious, with mainly whole grain flours, and to work in all the baking I do.
In 2016 I launched the flour blend and you can buy it from my shop here.
I’m afraid I haven’t tried the recipe using other flours so I can’t tell you if it would work without it. It works much more like wheat flour than other gluten free flour blends. For example it doesn’t need added gums for most recipes and it doesn’t require extra water like most gluten free flour blends do.
If you’d like to read about why the gluten free flour blend you use is so important then read my article What On Earth Is a Gluten Free Flour Blend.
What equipment will I need to make gluten free gingerbread men?
As I mentioned above, you don’t really need too much special equipment to make these gingerbread men.
If you do like baking I recommend investing in a food processor. When I got my first one around 6 years ago it made my life so much easier.
Although the food processor isn’t necessary for this recipe you will need the following items:
- Baking trays
- Gingerbread men cutters
- Rolling pin
- Mixing bowl (if you aren’t using a food processor)
How do I keep my gingerbread men fresh?
You have three choices here:
- Eat them all in one go (I’m joking)
- Store them in an airtight container for around a week
- Freeze them
How many gingerbread men will the recipe make?
It depends on your cutters but with mine (which are around 15cm from top to bottom) I get around 15 – 20.
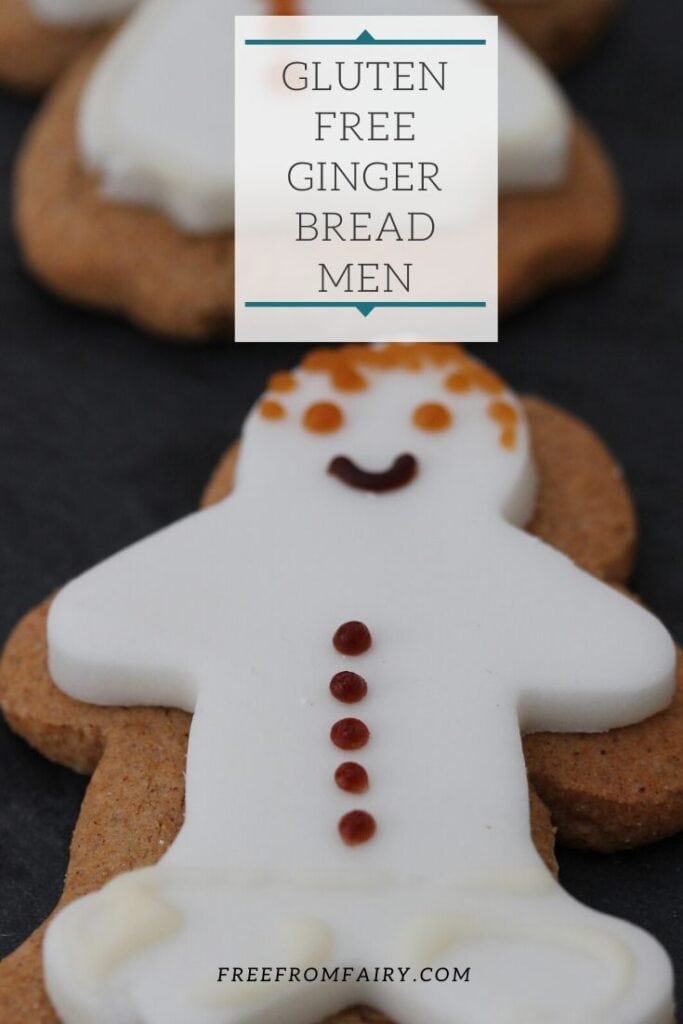
Pin the recipe to Pinterest so you don’t lose it:
Gluten Free Gingerbread Men (and women!)
Ingredients
- 350 plain Free From Fairy gluten free flour - plus extra for dusting the work surface
- 2 tsp ground ginger
- 1 tsp ground cinnamon
- 1 tsp bicarbonate of soda
- 100 g butter
- 150 g brown sugar
- 4 tbsp golden syrup
- 1 egg
Instructions
- In a food processor combine the flour, spices and bicarbonate of soda. Whizz the ingredients to mix them thoroughly. Alternatively place all these ingredients into a large mixing bowl and stir well to combine.
- Add the butter and process again till the mixture resembles breadcrumbs. Add the sugar and process again. If you don't have a food processor rub the butter into the flour then add the sugar.
- Add the golden syrup and egg and process until the mixture starts to come together. Tip out onto a floured surface and form the dough into a smooth ball. Wrap in cling film and chill in the fridge for 20 minutes.
- Take out the fridge and roll to the thickness of a £1 coin. Use a gingerbread man cutter (or any cutter you like) and cut out as many shapes as you can, re-rolling left overs to use it all up.
- Place the cookies onto a couple of greased or lined baking trays so that they are not too close together.
- Heat the oven to 180C/160C fan and bake the cookies for 10-12 minutes until nicely browned but not burnt. Leave to cool on the tray for 5 mins then transfer to a wire rack to cool completely.
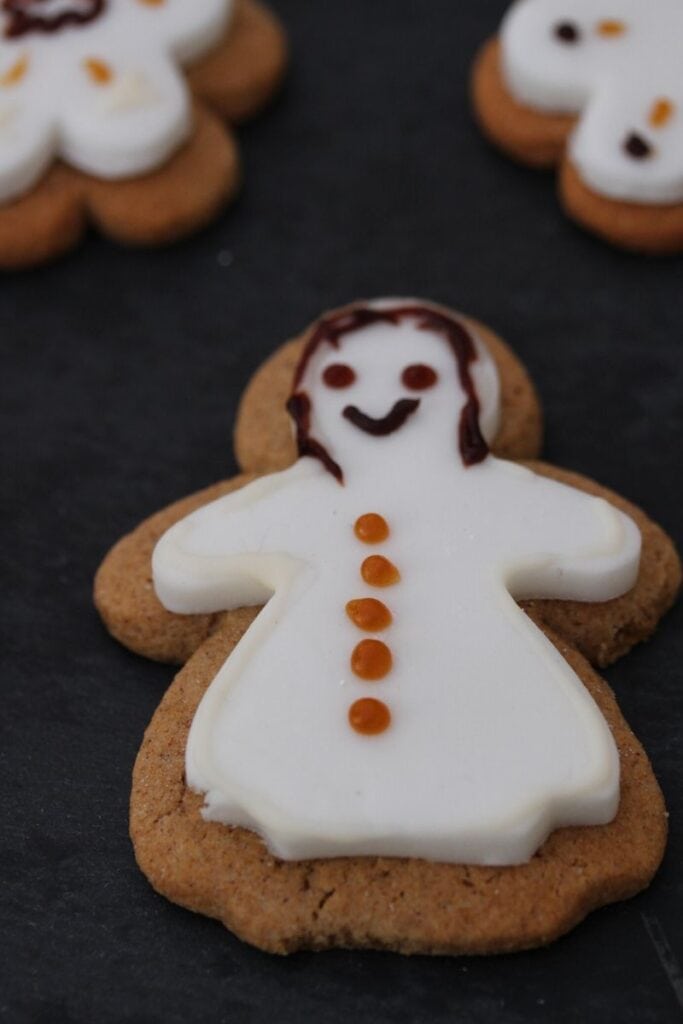
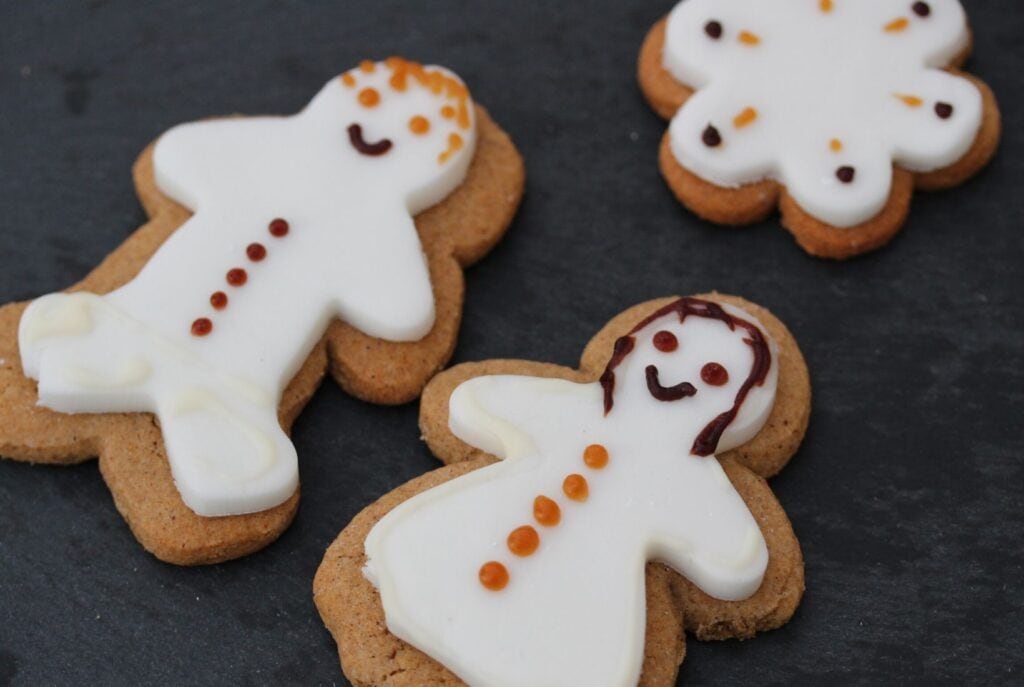
- Decorate however you like...using squeezy pre-made icing (check ingredients) or by making a fairly stiff icing with icing sugar and water. Or get your kids to decorate them just before eating...which seems to be just the reward they need to get them to eat up all their tea!
Notes
Nutrition (Approx)


Alison says
Just made these with my 8 year old coeliac, easy to make and tasty!
Vicki Montague says
Hi Alison, so pleased you like them. Thanks for letting me know 🙂
Julie says
a perfect 10 ??????
Vicki Montague says
Ah I’m so glad you liked the recipe. We made them yesterday! Now I just need to update the photos!!