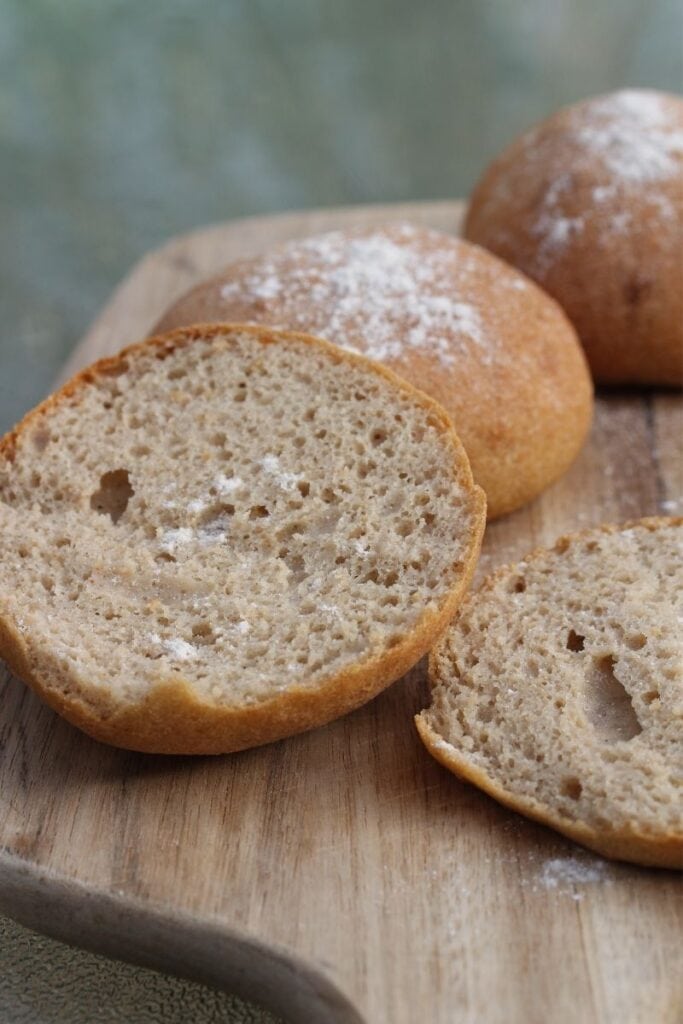
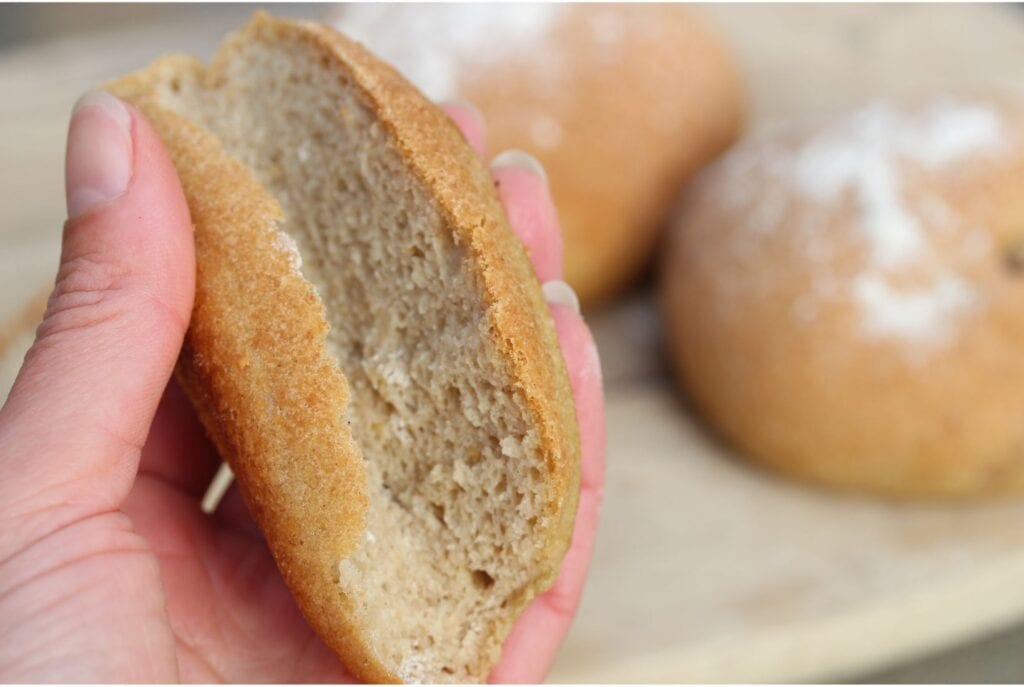
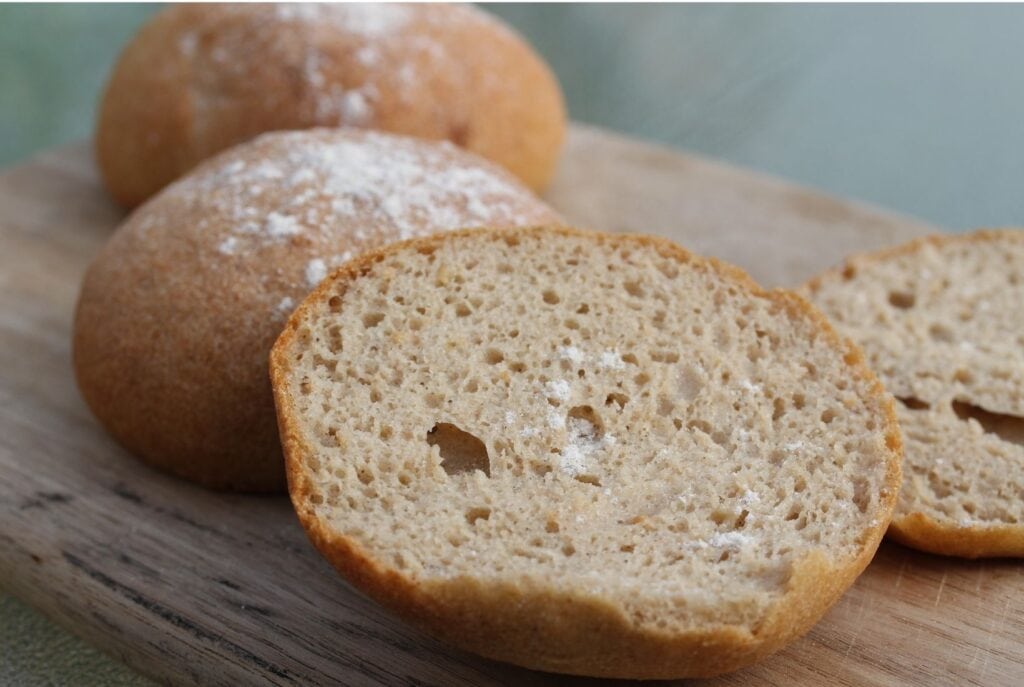
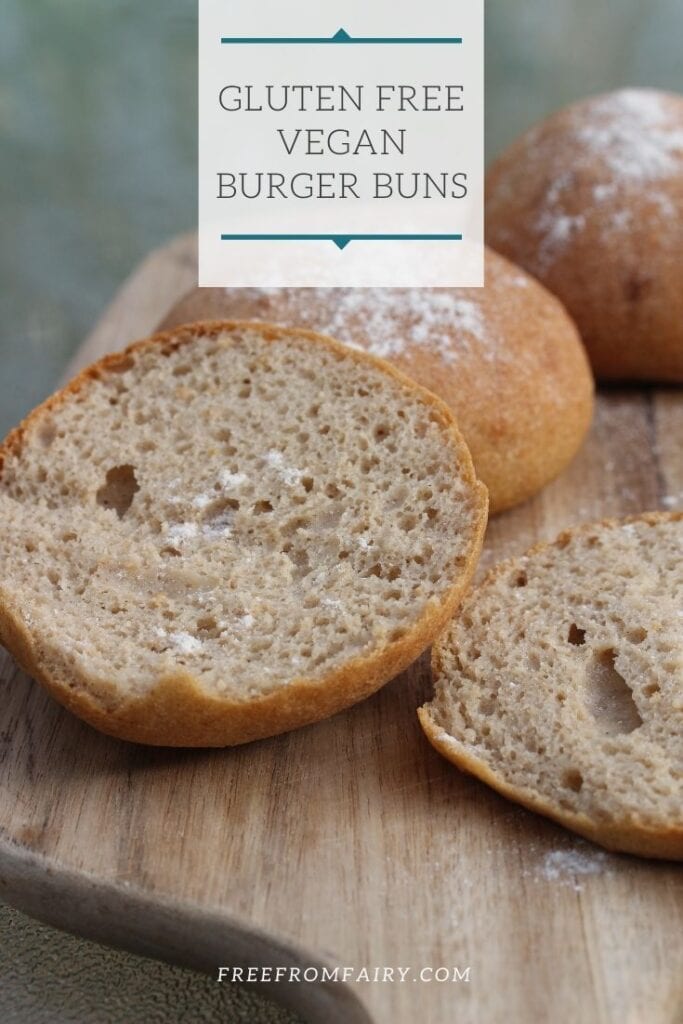
These delicious, soft gluten free burger buns or sandwich rolls will transform what you think about gluten free bread. Not only do they actually taste wonderful but they are soft and hold together too. No more disappointment when your roll falls apart as you eat your burger or sandwich.
Jump to Recipe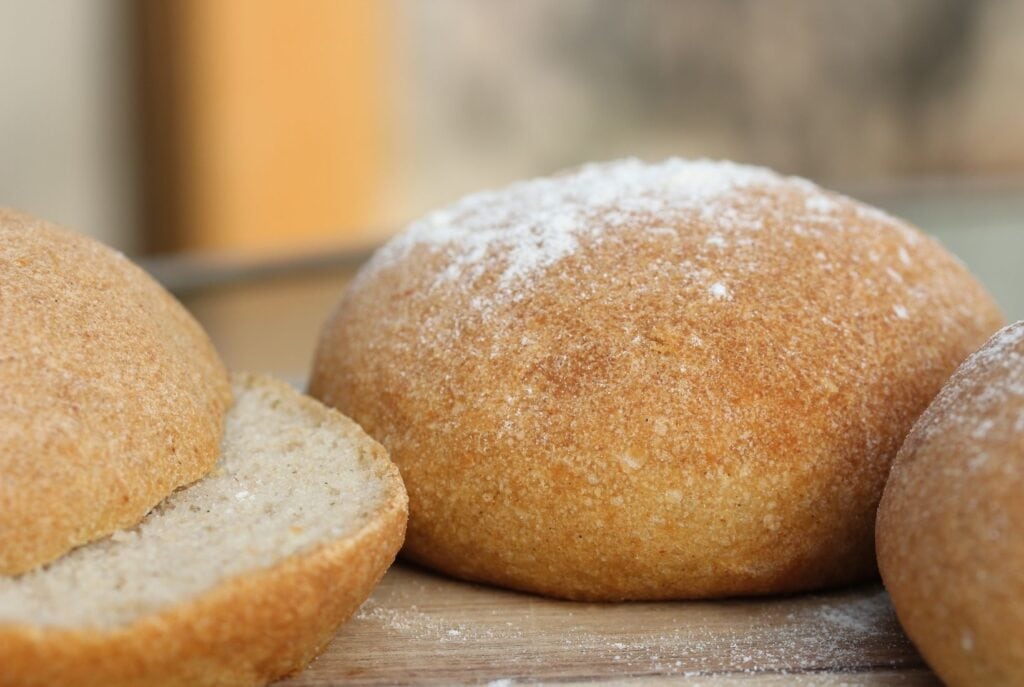
This post contains Affiliate links. As an Amazon Associate I earn from qualifying purchases.
Sick of buying gluten free burger buns that fall apart? Craving a cheese roll for lunch that looks like everyone else’s? Then I have the solution because I too was fed up with those things.
Without further ado I’m going to outline exactly how you make these wonderful rolls so you can get on and enjoy life.
What is the key to successful gluten free bread?
After many, many years of experimenting with gluten free bread making I’ve finally found the keys to successful baking.
The first is my gluten free flour blend.
I set about making this in 2014 when I’d had enough of the flour blends on the market (bland, tasteless, full of rice and nutritionally devoid). I’d also had enough of buying umpteen bags of different gluten free flours just to make one successful dish.
My answer was to experiment, using my degree in biochemistry and genetics, to find one flour blend that was high in wholegrain’s (and their associated benefits), tasted great and could be used in all my cooking and baking.
The second key to successful bread making is psyllium husk powder. Unlike xanthan gum it is an entirely natural ingredient that can be used in relatively large quantities to act as a gluten replacer. It also retains moisture in the final bake meaning that breads remain soft.
What special equipment will I need to make these gluten free burger buns?
None. I would imagine that you’re going to have everything in your kitchen already. If you don’t have these items then I have given you a link to Amazon where you can buy them from.
The equipment you need for this recipe you’ll need for other recipes too so it’s worth investing in them now. If you click on the link I’ve provided then I get a small commission for referring you while you pay the same price.
All you are going to need is a large mixing bowl, some weighing scales (I always recommend a digital pair like these), a tablespoon for mixing, 2 baking trays, non-stick liner and some measuring spoons.
Why don’t the rolls need kneading or double prooving?
If you’re new to gluten free bread making then when you look at the method you might be surprised at how easy it seems.
That’s because gluten free bread making is easy compared to ‘normal’ bread making.
If you’re interested in finding out more about gluten free bread making then I invite you to read “How To Make Gluten Free Bread.”
If you don’t have time to read that then all you need to know is that kneading is required to develop the gluten in traditional bread making. Since there is no gluten, you don’t need to do that!
I never double prove my gluten free bread recipes. What I’ve found over the years is that if you knock back gluten free bread dough to allow for a second rise, the second rise is never as ‘good’ as the first one. So why bother? It can help to develop the flavour but when you’re making bread with my flour blend it has plenty of flavour already.
Is there a special shaping technique?
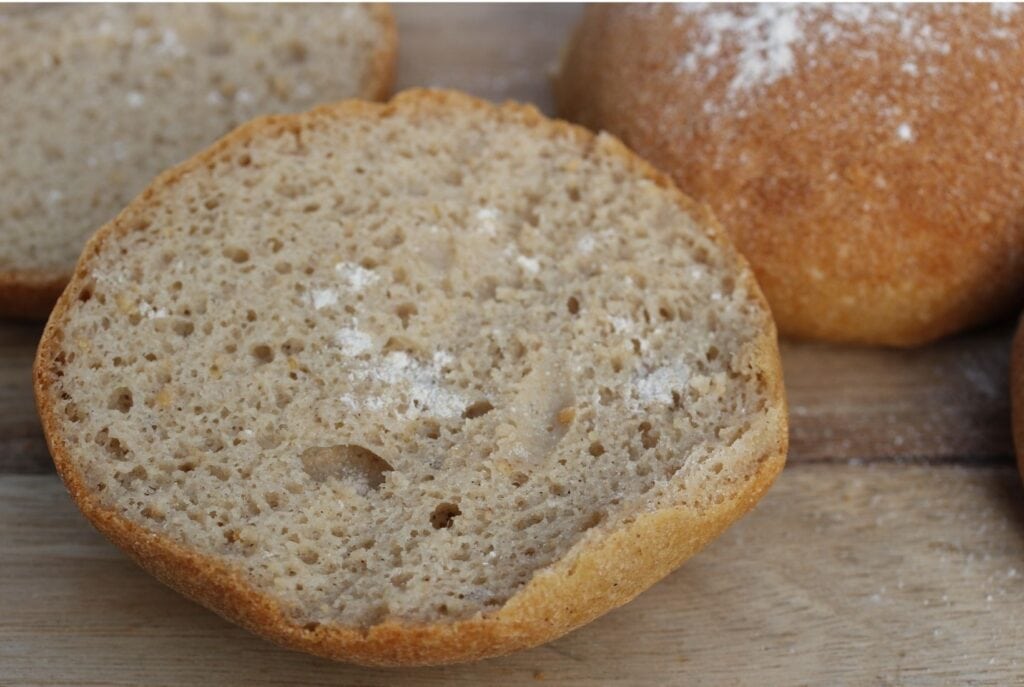
There is nothing special about shaping these rolls. However, there are a few tips that I can give you to make it easier:
- Make sure your hands are well oiled
- Roll the dough into a ball and don’t flatten it
- Gently stretch any cracks in the ball of dough to the bottom of the roll
- Smooth the top of the rolls with wet fingers
Can I make any variations to this recipe?
I’m all for experimenting; I actively encourage people to take my recipes as a guide then make them their own.
There are a few caveats to that though…
- Don’t try the recipe with other flour blends. If you don’t understand about gluten free flour then please read this article so you don’t waste any more of your time!
If you live outside the UK and can’t buy my flour blend then check out my online gluten free baking courses. I share the recipe for the flour blend in them enabling you to make all of my recipes where-ever you are in the world.
- Don’t adjust the amount of liquid in the recipe. You can vary the liquid (eg you could use milk) but not the amount
- I wouldn’t suggest using xanthan gum instead of psyllium husk powder. It might work but I haven’t tried it.
- If you’re using psyllium husk, rather than psyllium husk powder (read the label carefully!) then you’ll need twice as much husk to powder. I always use powder in my recipes.
In terms of additions I suggest trying ‘dry’ additions such as herbs, sundried tomatoes, nuts, seeds, dried fruits, spices and the like.
Let me know what you add.
I’ve made some delicious sweet buns by adding a little extra sugar along with cinnamon and raisins. Very yummy when split open and toasted like a tea cake!
Other recipes you might like
Don’t lose the recipe. Pin it to a Pinterest board now.
The full recipe for gluten free burger buns
Gluten Free Burger Buns/Sandwich Rolls (Vegan)
Ingredients
- 375 g Free From Fairy gluten free plain flour blend
- 20 g Psyllium husk powder
- 7 g Dried yeast - I used Allinson Easy Bake yeast which is fast acting
- 8 g Ground flax seeds
- 5 g Sea salt
- 10 g Sugar
- 2 tbsp Virgin olive oil
- 1 tsp Balsamic vinegar
- 480 ml Warm water
Instructions
- Switch the oven on to its lowest setting (so it is just on but not necessarily at a temperature setting) – for me that is 50 degrees fan
- Place the dry ingredients into a large bowl and mix to combine
- Add the oil, vinegar and water and mix to form a dough. Make sure the water isn't too hot or it will kill the yeast. You are looking for it to be body temperature. One way to test that is to pour it over your wrist. It should feel neither hot or cold.
- Leave to one side while you prepare two baking trays with re-usable non stick liner (or rub with oil)
- With oily hands divide the mixture into 8 balls
- Roll the balls between your hands to form a smooth ball and place on the prepared baking tray
- Repeat until all the dough has been used up
- Rub each roll with additional oil
- Place the buns into the warm oven and set the timer for 20 minutes
- After 20 minutes turn the oven up to 230 degrees C (210 degree fan) without removing the buns and cook them for around 25 minutes until golden and sounding hollow when tapped
- Cool completely before cutting
Colleen Kerr says
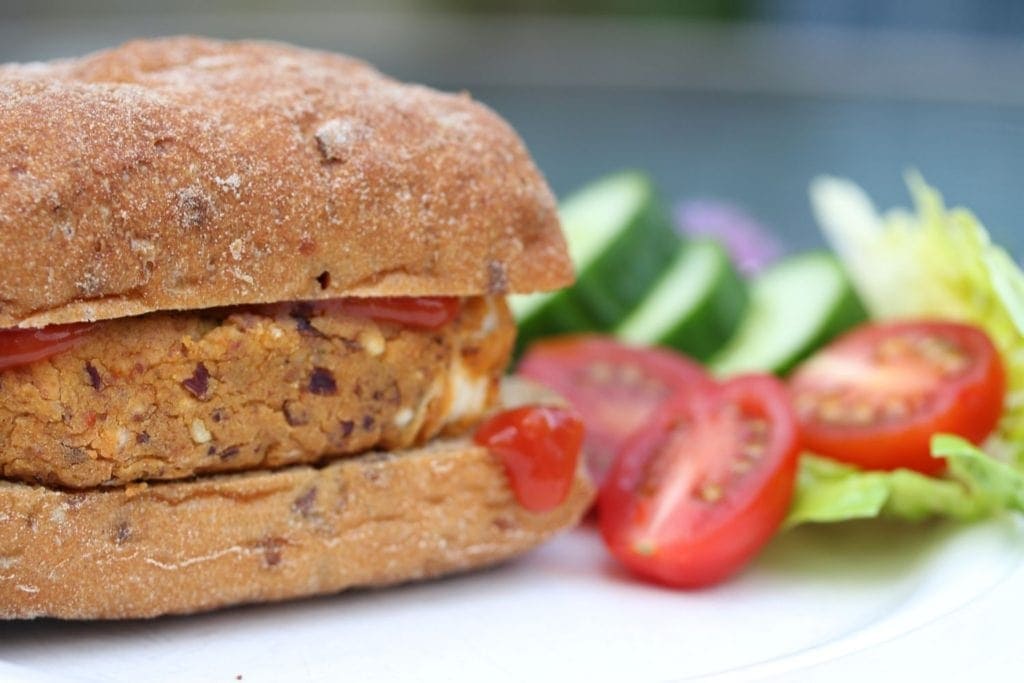
This is the best bun recipe I’ve ever made! I’ve made it 3 times so far. Twice with a flour blend based on your blend ingredients (as yours is not available to me) and once with a Bob’s Red Mill 0ne-to-one blend. I needed to adjust the amount of water a little as the different flour blends absorb water differently, but they turned out perfect everytime. Delicious, chewy and they don’t disintigrate half way through eating your burger or sandwich!
I like that it is egg free (I dislike eggy flavoured bread). They are super easy to make. I am a long time home baker (for the last 20 yrs gluten free) and I remember when instant yeast first came out in the 80’s, the two step rising/baking process was the standard way for all breads. I haven’t seen anyone use this process in a long while. It really cuts down on time. Today I shaped them into hot dogs buns for some summer hot dogs! Thank you so much.
Vicki Montague says
I’m so glad you like the recipe! We love it too 🙂
Emma Stone says
Hi. Please can you tell me how long these keep fresh for? Do they freeze well? Thanks
Vicki Montague says
Hi Emma, they keep fresh for a couple of days and freeze very well.
Emma Stone says
Thanks Vicki 🙂
Anisa says
Hi, my son has a flaxseed & egg allergy. What can I replace it with?
Vicki Montague says
I suggest you try chia.